Final Wanderfall Log Post

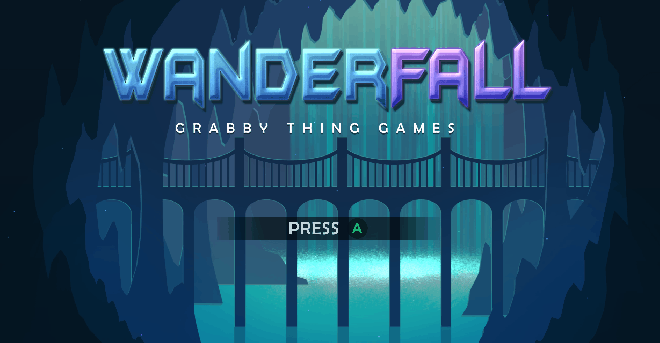
Creating the Main Menu

main menu gif.gif

Rin one of our artists, created the visuals and separated them into foreground, mid ground and background layers. I placed them in as 2D sprites so that the waterfall particle effect would sit behind the first 2 layers, but sit in front of the last. I found putting everything on a canvas didn’t allow for particles to work with sorting layers the way I wanted.

The particle effect for the waterfall was my design decision, something to add some animation making the menu less static. Aidan provided the small dust particles that float around, and I programmed the fading of the menu UI on button press.

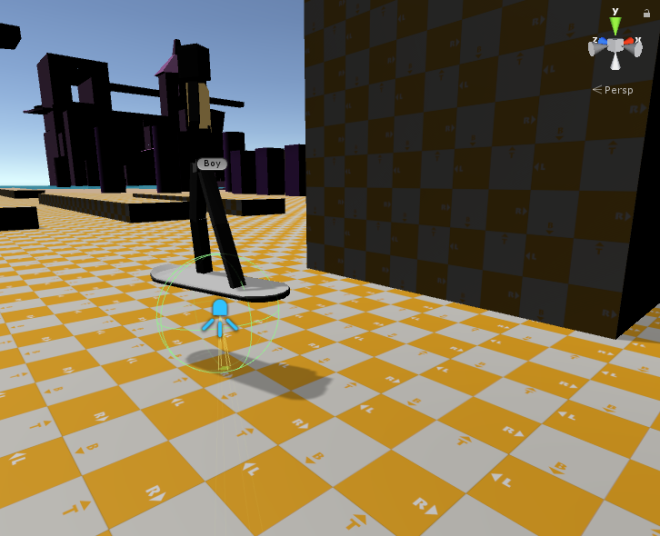
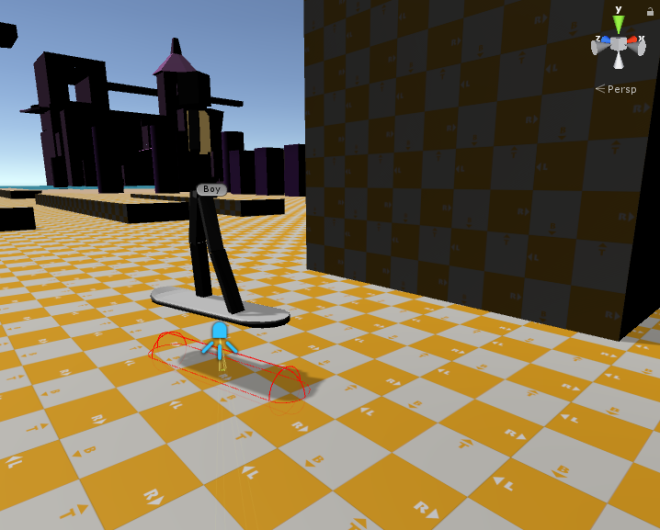
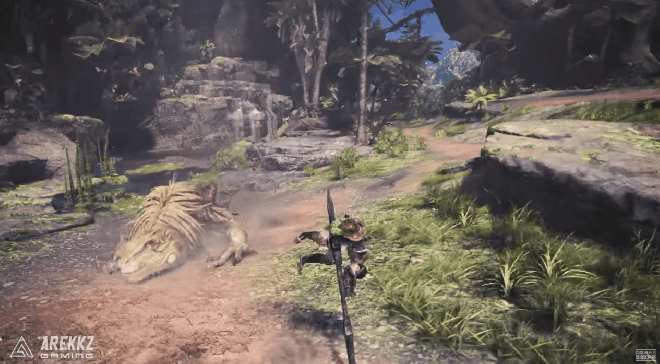
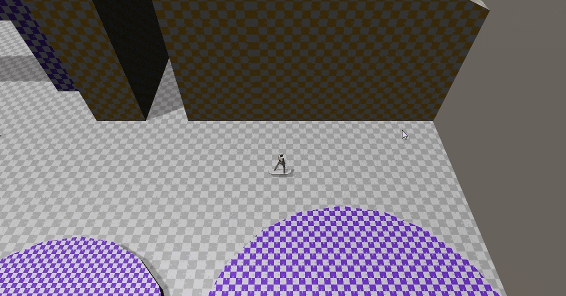
The boy falling was a small touch that acts as a stand in for an opening animation. We had a grandiose idea to make this opening clip showing the main character snowboarding down a hill and falling into the cave. It provides context as to who you are and where you are, also why you are there. We ran out of time and this ended up staying as the final opening “cut-scene” that I believe serves it’s purpose.

Finalizing the player controller

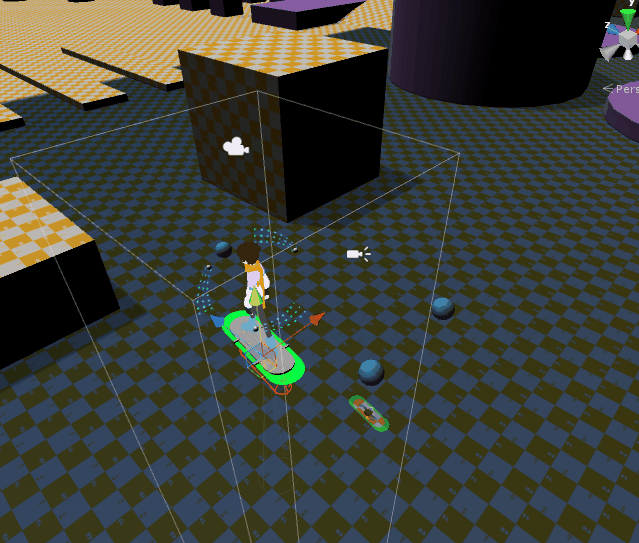
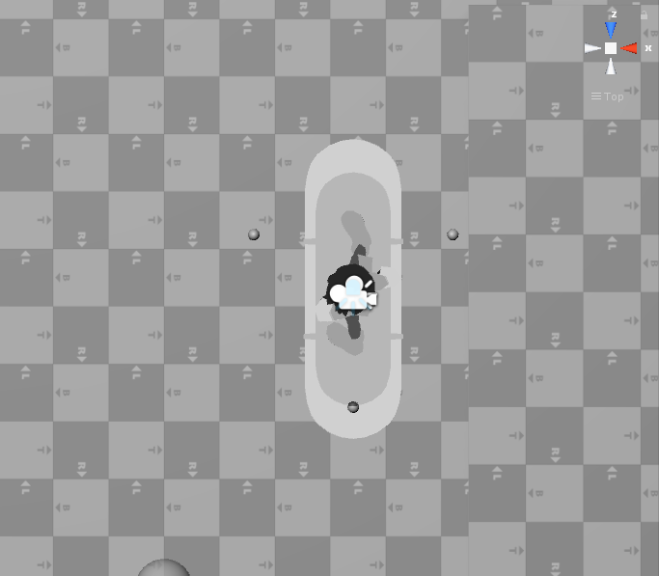
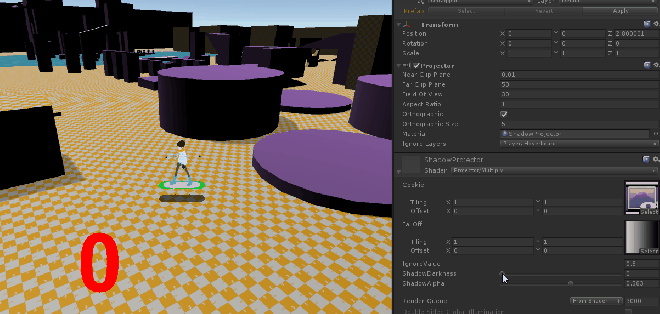
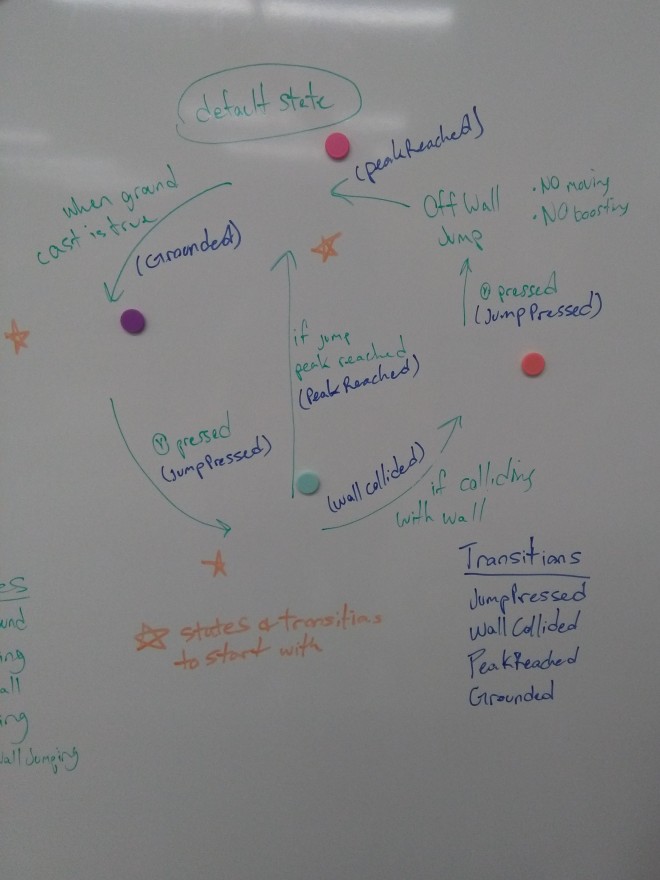
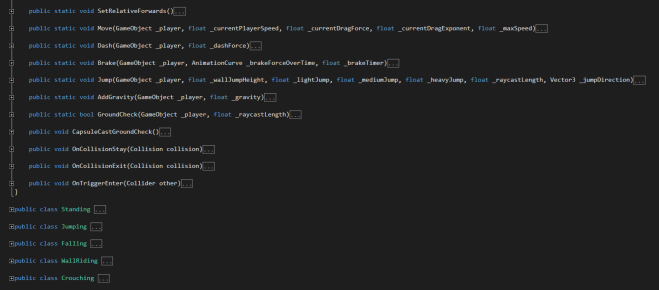
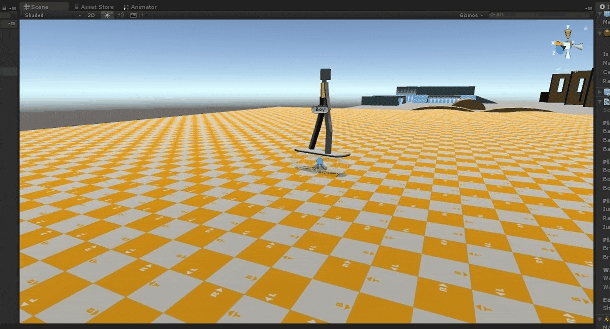
It was time that we made the player controller finalized. The player controller was probably one of the most iterated facets of our game, going from crouch jumping to one single tap jump or ground boosting being an acceleration to individual bursts, we needed to stop touching it. In hind sight, it should have been finalized a long time ago. Something I’ve learned from this project is that the player controller should be fully featured before the rest of the gameplay has started development. The biggest time waster for our team was changing the controller and then changing the level design in turn. If you provide level designers with a fully featured controller they won’t need to change their thought process on the flow of the level. For example changing the jump from a double jump to a single jump changed metrics where Lauren and Mickey needed to move platforms and even remove platforms for better flow. These constant changes take more time than one would imagine.

player abilities.gif

Implementing breakables and sounds

One of the biggest requests from every play tester was adding tricks… second to that was breakable crystals! Tricks don’t really work with our game idea, the tricks were supposed to be apart of the air dashing, wall riding and ground dashing. If we had more time we would’ve been able to animate and implement those, but breakables, breakables was something we could do.

Mickey was actually the one to really push for breakables to be implemented. He created the breaking system himself, and handed it to me to implement it into the game. All I added was an on trigger enter and a condition for checking the player speed. Admittedly it’s not the best, sometimes running into crystals at a good speed may not break them, but it was a last minute feature that added some interesting moments. We used them as gates highlighting secret areas, also preventing player progression in tutorials requiring players to use the charges properly.

I also worked with Stephen from Sheridan’s Master sound course, setting up Wwise and implementing sounds. Luckily Wwise has a button to integrate the Wwise project into a Unity project, then all that was left was to setup the main soundbank and sounds on event triggers. Wwise seems to be very powerful but I didn’t have time to get too deep into it, so I only learned the basics of calling a one shot or loop sound clip, but in the future I may look into it more.

wwise logo.jpg

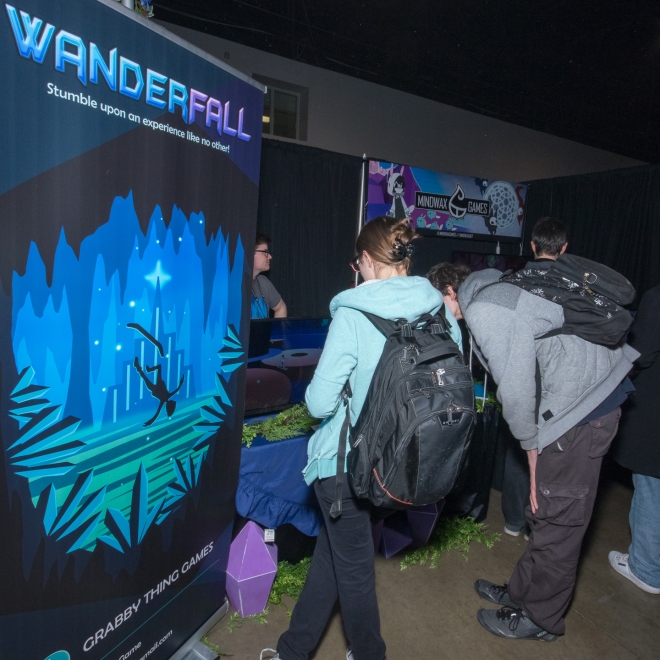
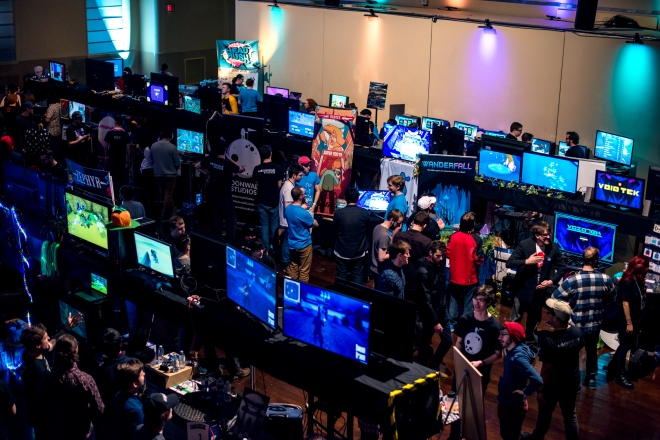
Exhibiting at shows!

Once everything was working and the build finally came together, we spent most of April getting ready for shows. We exhibited at the Oakville Library, EGLX in Toronto, as well as LevelUp at the Design Exchange. I really enjoyed exhibiting, it was a blast seeing people play and enjoy our game. The work and effort setting up the booth and speaking to every person that comes to play was exhausting, but worth it.

WANDERFALL_FUN_RobertMurray-7691.jpg

DSC_7847-1.jpg

Final thoughts

From here we have really slowed down on working on Wanderfall. There’s still some sounds to add and I want to add controller support with InControl, but after that we are thinking of putting it up on itch.io and moving on. The members of Grabby Thing Games are aiming for all different jobs and opportunities, but we continue to stay friends. Maybe we will come together for a game jam here and there!

Thank you for following my dev log, I hope there was something you can take away from my experiences! I sure did.

Final Wanderfall Log Post

Adjusting The Old, Adding Some New

It’s been close to two months now since my last blog post, and I’ve been up to a lot of things. I’ll focus mainly on the technical side of things, but I want to mention some fun crafts I’ve been up to first.

Booth Props

For our booth at public events such as EGLX and Level Up, we wanted some crystals to make our booth unique. I bought clear casting resin and my team member Rin gave me some molds I can use. I’ve set them up and poured the resin in, now it’s time to wait. I’ll share pictures on my next blog.

Capsule Cast Collider

On to the technical stuff! My biggest task, that unfortunately I still haven’t completed, was getting rid of our sphere collider on the player and replacing it with a capsule cast. Our intentions for this were to allow the player to get onto ledges easier, and provide a more expected reaction to their board being on surfaces. The sphere collider is centered and the lips of the board will clip through geometry currently.

sphere collider
Sphere Collider
capsule cast
Capsule Cast

Casting the capsule was easy, here’s the API. Once the cast hits the floor, I set the player position to a specific value above the hit.point. A problem I ran into with this however is that the hit.point is not center, it tends to always be at the front tip of the collider. To fix this I would need to calculate the center of the capsule collider. Once ramps and curved surfaces are involved the hit.point becomes trickier because the center can be moved throughout all three axis. I used ProjectOnPlane to project the player’s forward vector onto the ground normal. This allowed the capsule collider to rotate depending on the surface it hits, but it resulted in an odd bouncing behaviour.

capsule collider edges
Bouncing Capsule Cast

This is where I left it last, seeing as I spent more than two weeks on this one feature. I plan on coming back to it, but more important tasks need to be done.

Ground Boosting

One of the main feedback’s we receive from playtesting is that players want more speed. Our solution to this is creating fast segments in between the slower areas. It would be a long passage with some small obstacles and turns, but nothing drastic. The player will also be given charges throughout the passage, allowing them to constantly boost.

So I worked on adjusting our ground boost, not only does it act more similarly to the air dash it also uncaps the max speed allowing the player to move faster and faster the more they boost.

maxing the boost.gif
Testing the Ground Boost with Infinite Charges

Air Dashing

Speaking of air dashing, that has changed as well! We found players didn’t enjoy the feeling of air dashing seeing as it acted more like a physics based motion. The old dash would add force in the direction of the joystick and a small upwards vector, creating an arc through the air. Now the dash stops gravity on use, so it’s a straighter line in the direction of the joystick, and it’s stronger. Players also didn’t enjoy the feeling of losing momentum when dashing in the air, so it now includes the player’s velocity.

A big reference for the air dash was from the Insect Glaive in Monster Hunter World. It allows the player to dash in a zig zag fashion, and provides hang time in the air. The zig zag motion is key for our game, because the air dash was intended for adjusting position in the air in case the player over shot a jump or was too short.

monster hunter glaive.gif
Monster Hunter World – Insect Glaive (reference link: https://youtu.be/Uug81rUvnTs?t=102)

Casting a Shadow

Finally, we added a proper shadow below the player. In the beginning we had a shadow object being placed at a raycast hit marker below the player. This worked for prototyping but it wasn’t polished. A black circle gameobject moving around the scene with no animation or harmony with the environment isn’t something we wanted in the final game.

So we used Unity’s Projector class to create a shadow with the shape of the player, very similar to Mario’s shadow in Super Mario Odyssey.

shadow final.gif
Final Shadow

To do this I started with the BlobShadowProjector prefab from StandardAssets->Blob-Shadow. Then instead of the blob material they provide, I used a render texture and a camera that has the culling mask set to Hoverboard. The Hoverboard layer only has the hoverboard in it, this allows the shadow to only include the board. I’ll get into the reasoning behind why we don’t shadow cast the player character shortly.

texture render.gif
Render Texture and Projector Prefab

The gif above shows what the render texture and projector provide, but what we want is the shape of the board to be a dark shadow and the rest to be transparent. This is where Nelson comes in, the programming lead on Grabby Thing Games. We wanted the ShadowProjector shader to make one colour transparent, and the rest opaque, therefore we needed the texture render to only see white and black. We used another Unity class called Post Processing to effect the render camera, and make the output to be zero saturation.

post processing saturation.PNG
Zero Saturation from the Post Processing Behaviour

Now that we had the hoverboard set to a grey scale we needed the ShadowProjector shader to translate white to transparent and any other colour on the grey scale to opaque. This is when Nelson worked his shader magic, and edited the shader to our liking. I’ll share screenshots of the shader script in full.

The player character has a colour scheme that includes pure white, which is why we don’t cast their shadow, changing it would require more team discussions which requires time we don’t have.

shader_1.PNGshader_2.PNG

Nelson also added some public variables for adjusting the brightness and opaqueness of the shadow.

shadow alpha and darkness.gif
Adjustable Values

Thanks for reading! Check back in a month or so for updates.

Adjusting The Old, Adding Some New

State Machines and Metrics

State Machine

Completing functionality for the player controller left me with a lot of states, which required a lot of if conditions on whether the player was on the ground, in the air, or touching a wall. The state machine allowed me to clean up the multiple if conditions and into something more readable. It also stopped states from interacting with each other, for example standing would go into jumping or falling specifically, and never into others like wall riding or dashing.

To start I planned out the states and how they would flow between each other. I used multiple ways of laying out my thoughts, from white board to paper and pen. The main states came down to “standing”, “jumping” and “falling”.

IMG_20171106_101100

In those states I wanted full control over speed and gravity, and some other things specific to each state. Standing for example can jump and boost, while in the air the player can dash, wall ride, and double jump. So I created a scriptable object which held the public variables and was referenced by each state.

For the finite state machine’s foundation I used Unify Community’s Deterministic Finite State Machine framework (http://wiki.unity3d.com/index.php?title=Finite_State_Machine). Implementing this with a Player Manager script was easier for me than creating my own framework, so I’m very glad I found this.

The basic process behind this framework is having each state with transitions. Those transitions can be shared between states, but if the transition isn’t declared that state will never be able to transition to another specific state. The transition acts in two ways, it transitions into a state and transitions out of a state. The only thing I needed to add to the Finite State Machine script was the states and transitions.

transititons-states

In the Player Manager script, I needed to first off declare the states and their corresponding transitions, and then implement their functions.

makingFSM

With the states and transitions done, I moved onto functionality. The FSM had multiple abstract methods but I ended up only using Reason and Act. Every frame Reason would check whether or not to transition to other states, while Act handled the actual functionality. I kept Act in Fixed Update so that I could handle physics engine calls while Reason stayed in Update, and it seemed to be working fine.

PlayerManager

For the general setup of all the states and methods I had the states in separate classes, and static methods within the Player Manager which each state class called to. Anything that affects the player is on the Player Manager, the state classes don’t affect the player personally, rather they call to Player Manager to do their bidding.

Metrics

As a group, we left out metrics far too long. I made the player controller and designed the player actions like jumping, dashing and wall riding but the metrics and feel of each were constantly being changed. Every team meeting or play session involving the players actions resulted in tweaking the numbers, therefore never having final metrics. We should have made the metrics final sooner than later so that our level designers could create the grey box levels, and not have to change platform spacing every time an action’s numbers were tweaked.

We had a really good team session where we wrote down all the player actions on a white board, and asked everyone to describe what they imagined the action to feel like and look like. Then I would describe what my intentions were from the beginning, and how I could design those actions so they were acceptable to my team members.

Controls-Expectations

This also made it clear to all of us that brake and hold release jump were some what useless. For brake, the play tests resulted in no one ever using brake since the board would stop after a period of time without any input. The hold and release jump was also confusing for players because there wasn’t any visual feedback at the time, but we also decided to turn it into a tap jump because the hold and release was more for fast paced boarding games like Tony Hawk or Steep. Wanderfall was meant to be a combination of boarding games and platforming, and platforming feels much better with tap jump.

Once we worked out the kinks with the abilities, I went into Unity and finalized metrics. I tweaked the numbers of jumping and dashing distances to something I felt wasn’t overpowered but still felt good. Then I wrote up a document for the team to see, and called it a day.

State Machines and Metrics

Prototyping Pushes Forward

Basic Camera

I created a basic camera to follow the player form a bird’s eye view. This gif I’m sharing shows some jittery motion, which led me to the discovery of Vector3.SmoothDamp. I’m not sure how it’s taken myself so long to find this method, seeing as Unity’s API states that this is most commonly used for cameras. I read some debates on forums about placing the smooth damp within LateUpdate as it provides better results, but I didn’t notice too much of a difference from Update or FixedUpdate.

OldCamera_ReducedSize.gif

Changing The Jump

The jump was adding force only when grounded, so if you jumped going off a ledge the player would fall without gaining any air. Although this is more realistic, it felt terrible. For a game like ours we need the jump to feel predictable and responsive. Common problems with play testing the original jump were players falling off ledges, especially on the small square platforms. The predictability still isn’t perfect but now jumping near ledges doesn’t cause anxiety.

EdgeJumping_ReducedSize.gif

Wall Ride References

It was a common debate on how the wall ride would work through controller input and how it would control in game. We wanted the player to stick to the wall , fall from gravity, and move. I decided to test out how some other games do it.

HoverWallRiding_ReducedSize.gif

Hover: Revolt of Gamers (2017) – made by Midgar Studio and Fusty Game

LucioWallRiding_ReducedSize.gif

Overwatch (2016) – made by Blizzard

These games have two unique approaches. Hover only requires the player to move in the direction of the wall and then it sticks, until the player moves away from the wall or jumps. Lucio from Overwatch jumps at the wall, holds the jump button to go into a wall ride state, and either letting jump go or falling to the ground takes them out of the wall ride state.

Adding Wall Ride

I decided to follow Hover’s methodology, not only because it’s easier but it also gives the player more control in my opinion. The tactile feel of squeezing a button is beneficial for a motion like wall riding, because your “squeezing” a button while the character on screen is “squeezing” up against the wall. The problem I find is that when you go to jump to another wall, holding the jump to wall ride then letting go and pressing again to jump off the wall becomes to much of a hassle. With automatic wall ride, the character on screen moves and you have time to plan the tap of the jump button.

WallRideAndJump_ReducedSize.gif

To add more control for the player I added a brake to stop all movement on the wall. This gives the player an infinite amount of time to stop and plan their next action. I feel as though this is too over powered however, and I’ll definitely be coming back to rework it.

WallBrake_ReducedSize.gif

Adding Some Visuals

Aidan, one of Grabby Thing Games designers worked on a box character and animated them within Unity’s animation editor. Nelson, the lead programmer created a blend tree for those animations. I wanted to share some images of this just so viewers understand the sudden leap in this prototype.

CharacterAnimations_ReducedSize.gif

We are continuing to use the sphere collider, but the sphere is hidden in game. The sphere helps imitate curvy motions because of the sphere rotation, so we’re keeping it for now. (The capsule collider was us messing around, the sphere collider is the only one to pay attention to here!)

CharacterAndCollider_ReducedSize.gif

Prototyping Pushes Forward

The Start To Something Big

An Introduction.

My name is Devin Murray and I’m currently working on a capstone project at Sheridan. I’m a 4th year for Bachelor of Game Design, and I’ll be writing about my design process. Check out my blog posts bi-weekly to keep up to date on what my team and I are working on!

My Role on the Team.

My team’s name is Grabby Thing Games, and I am the Gameplay Designer. I want to design and program the player experience, from character controller to player abilities. My idea for this role came from Bungie’s job board description for sandbox designers.logo horizontal

To give a brief outline of my process, I study real life and other media for research. The research I look at is to create a realistic vision for the player. Verisimilitude is to keep a sense of realistic nature in the fictitious world created. For example, if a character looks like jelly, they should move like jelly not like a brick (unless stated otherwise in the narrative).

Once I have some research to back my ideas, I work out the mechanics on paper before jumping into the digital realm. There I make quick mock ups of the mechanics I’m trying out.21951684_10159413386590581_1785093668_o

Prototyping my designs always leads to new problems to overcome, reinforcing the iterative process of game design.

Once the prototype is good to me I let my fellow coworkers share some critiques, until it’s good for all of us… or until we find a compromise.

After the prototype has been proven successful it is placed in the full game and polished.

Initial Steps in Designing Our Idea.

For our game, we want to create a state of flow in the player which is a term coined by Mihaly Csikszentmihalyi. Flow happens when there is a perfect amount of skill and challenge required from an individual in a given task. In games, mastering the mechanics while being tested by challenging situations can create the perfect setup for flow.

Our game involves the player using an ancient hover board in an ancient cave. The gameplay involves movement puzzles similar to Sonic, where the player needs to keep their speed up by hitting ramps and loops with fluid motion. Mastering the hover board will provide the skill, while the level design will provide the challenge.

The player controller is my main goal, as this will need to feel amazing if we want players to continue playing and come back for more. References started out with long boards, then surf boards, then finally snowboards. Watching videos, looking at photos, and using real life experiences we settled on snowboarding being the closest to what we think a hover board feels like.

The actual controls for the hover board can be tackled multiple ways, so we have three of us prototyping our own ideas. Mine was influenced from my Professor, using a sphere as the base collider. This provides a more fluid motion while moving along curved surfaces, if not for the ball I would need to keep the board off the ground and parallel to the ground.

This is a very basic concept, with vertical and horizontal motion. Jumping is also in there, but these bring up more questions:prototype

Does the hover board continue have control of motion while in the air?

Should the right thumb stick provide a sense of carving like most snowboarding games?

Will the jump only happen when touching the ground, or can the hover board levitate?

Before bringing in curved objects to simulate ramps, I want to get the controller feeling almost complete. After the controller feels good, I also need to work with the team to decide on a camera type. Right now it’s isometric, but that comes with design challenges for vertical motion and depth of perception.

Check back in a couple weeks for further Dev Logs!


The Start To Something Big